
Google Search Console : A Step-by-Step Guide
Google Search Console is a free tool provided by Google that allows website owners to track the performance of their website and improve SEO health. It highlights all the information you require, right from search appearance to how the users behave while visiting your website.
By keeping track of all this data, you can improve your site performance and traffic coming from Google Search Engine.
Benefits of Google Search Console
- Review the Google performance of your website.
- Check to see which pages on your site Google can find and index.
- Submit Sitemaps and specific URLs for crawling
- Discover technical SEO mistakes
- ..and more.
Steps to Set Up Google Search Console
Just like Google Analytics, you need to sign-in to Google Search Console using a Google Account.
Log in to your Gmail or Google account and click here.
If you are using Google Search Console for the first time, a pop-up will appear on your screen requesting to add a property (website) for monitoring.
You might view two options in front of your screen – Add Domain or URL Prefix
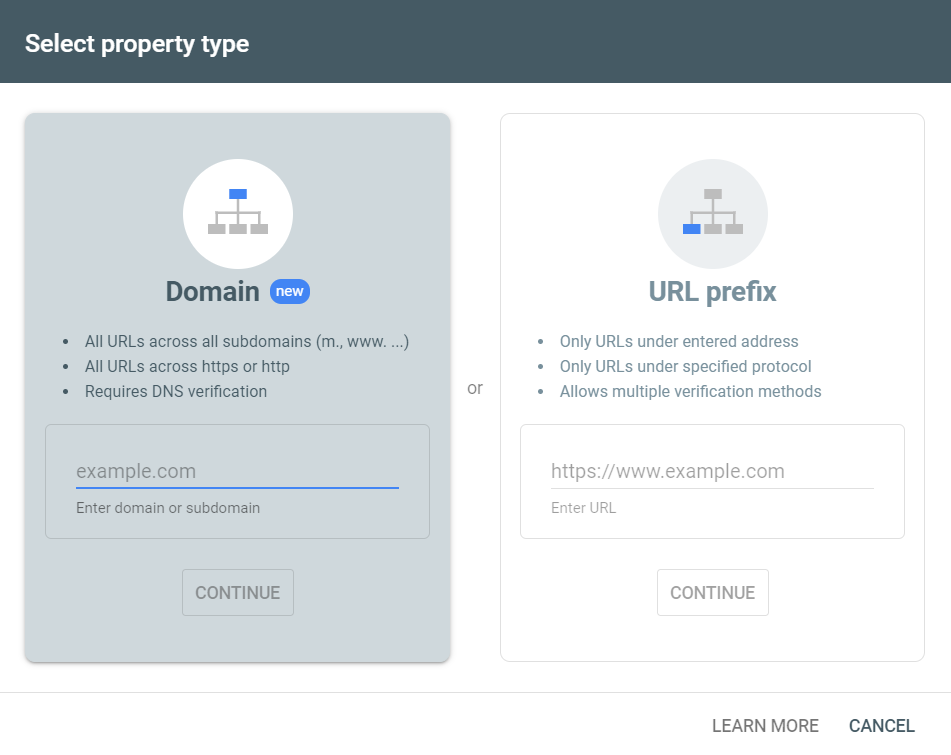
Domain Property Steps
If you want a complete view of the data on your website, go for adding a domain property. It will cover all URLs, including your subdomains, paths, and protocols.
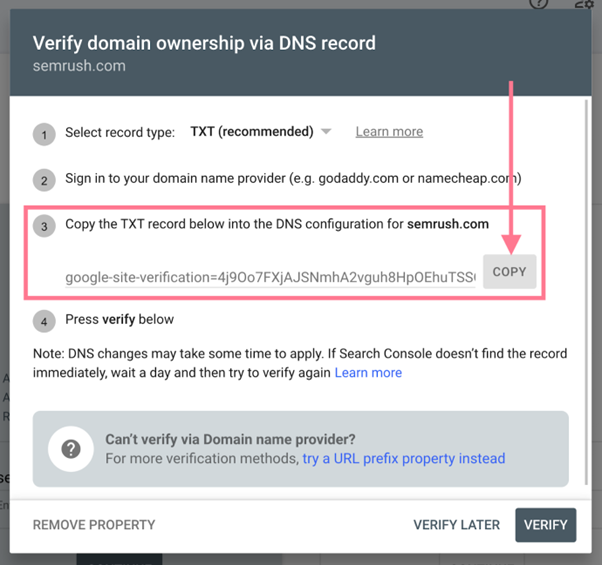
If you choose to add a domain property, you will be required to verify it using a Domain Name System (DNS) provider.
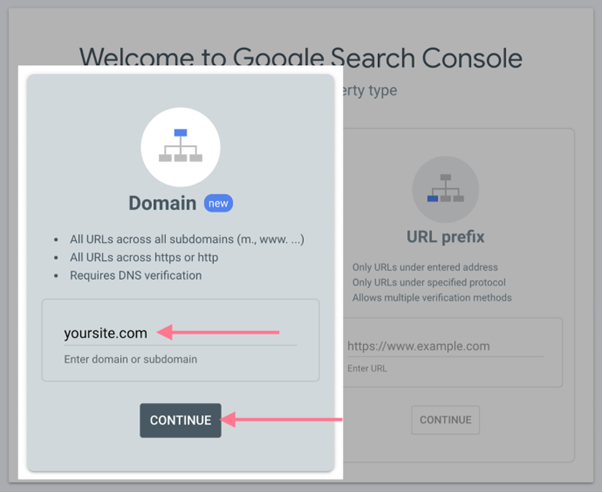
Go to the Search Console Link. Add domain URL without HTTP/HTTPS/WWW.
For example, I will just add thewebstore27.com in the “Domain” option and press continue.
Now, from the dialog box, copy the TXT record.
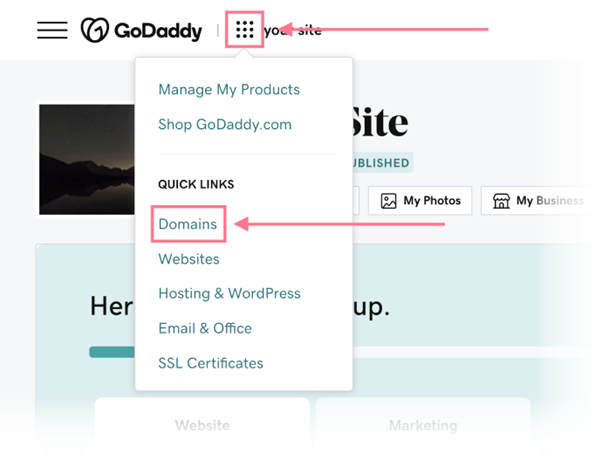
Now, switch to a new tab and log into an account with your domain registrar. For example, my domain registrar is GoDaddy, so I will log in to my GoDaddy account and click on the dots available at the top of the screen.
From the dropbox, go to Domains.
Now, select the three dots next to your domain name in the Domain Portfolio dashboard and then click “Edit DNS.”
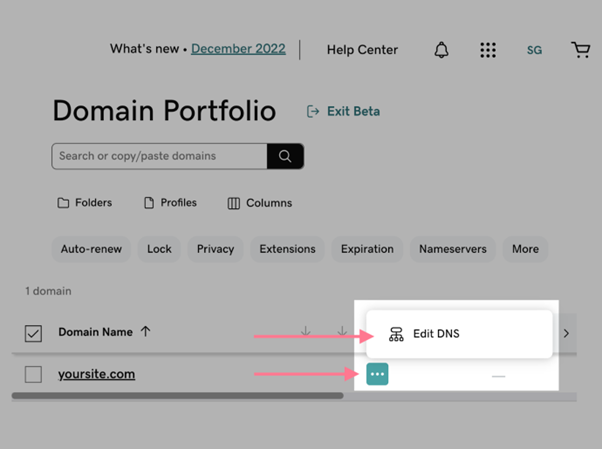
A DNS Management Window will open on the screen. By selecting “Add” in the DNS Records section, a new TXT record can be added.

Next a form will show up with the following options:
Type: TXT
Name: @
Value: [Here, paste the TXT record provided from the Google Search Console]
TTL: 1 hour
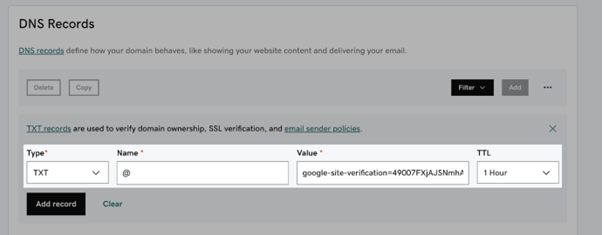
Next, press Add Record.

Re-visit your Google Search Console and verify the TXT Record.
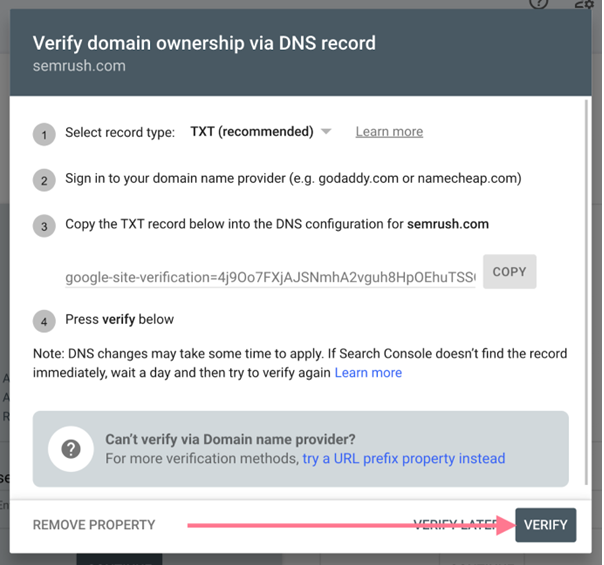
Once you verify, a message will display on your screen stating “Ownership verification failed”. It happens in the first go because at times DNS records take time to update that might be between a few hours and 48 hours.
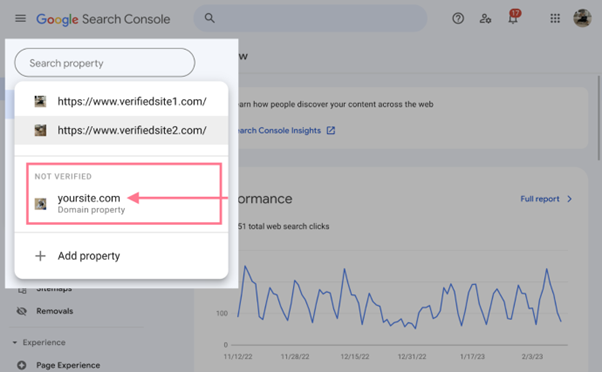
After at least an hour, select your website from the list of properties and repeat the verification process once more.
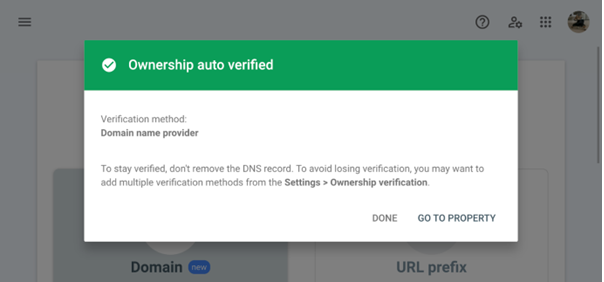
Once it is verified, a confirmation message will pop-up on the screen.
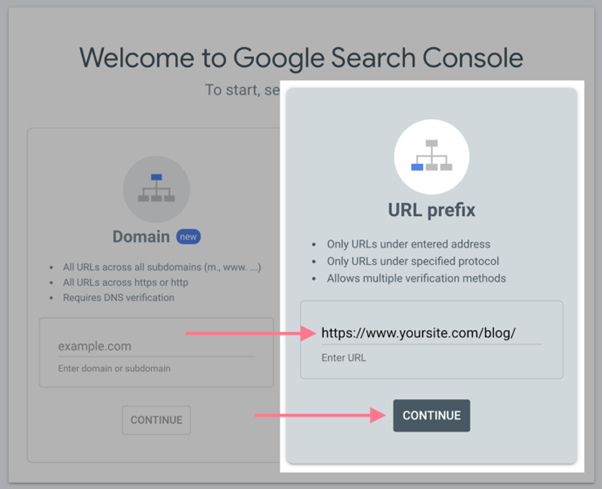
URL Prefix Steps
URL Prefix Property allows users to view only specific website section.
Unlike the Domain Property case, you must add the complete URL including HTTP/HTTPS/WWW under the URL Prefix option.
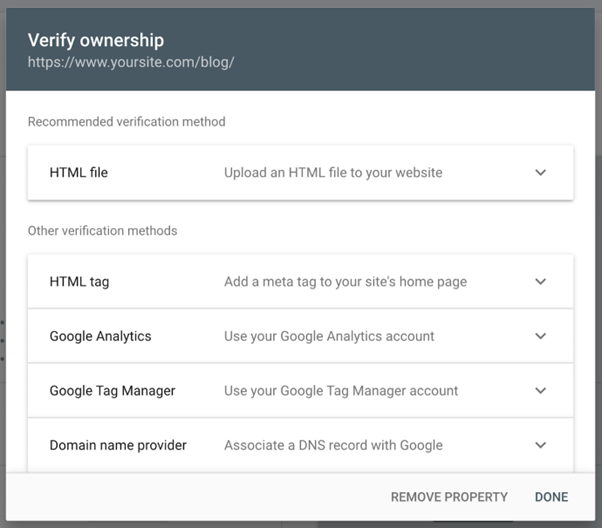
Under URL Prefix, you have the option to verify your account using HTML File, HTML tag, Google Analytics, Google Tag Manager, or the Domain Name Provider.
Verify Using HTML File
Let’s say, you choose to verify using the HTML file – Download the file and upload it to the website’s root directory.

Also, remember, if you wish to verify “www.yourwebsite.com,” your homepage is in the root directory. However, if you wish to verify “www.yourwebsite.com/blog/,” then /blog/ is the root directory.
You would upload the file in this scenario to “/blog/.” Additionally, all the child directories will undergo verification.
Once you upload the file in the root directory, go to the search console account and press verify.

Verify Using HTML Tag
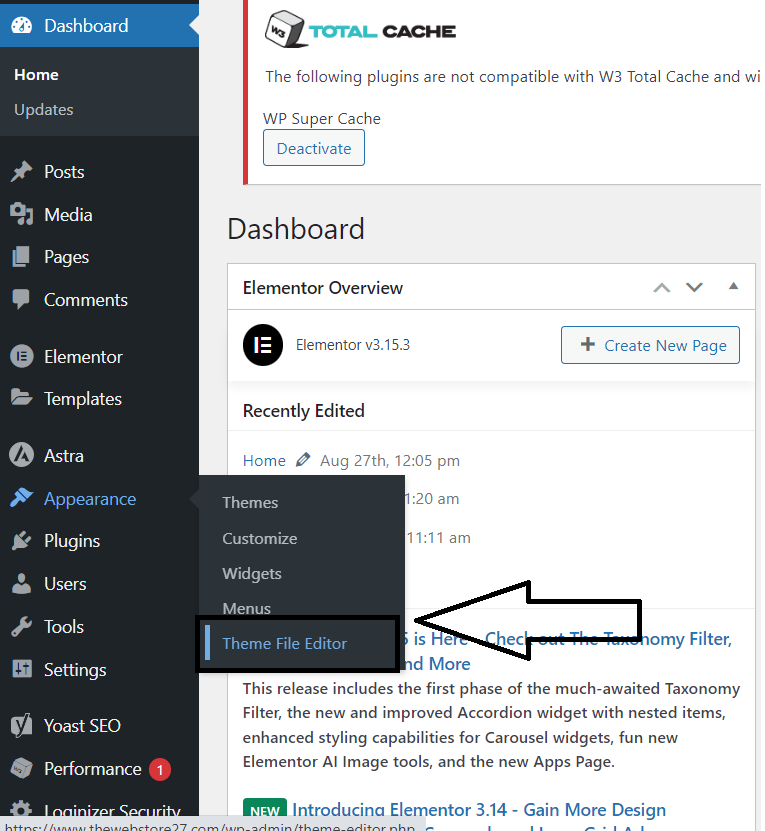
If you want to verify using the HTML tag, copy the one provided in the search console and go to your website admin account.
Go to Appearance> Theme File Editor
On the screen, if you look in the right corner, you can access several files. Choose Theme Header by scrolling the list.
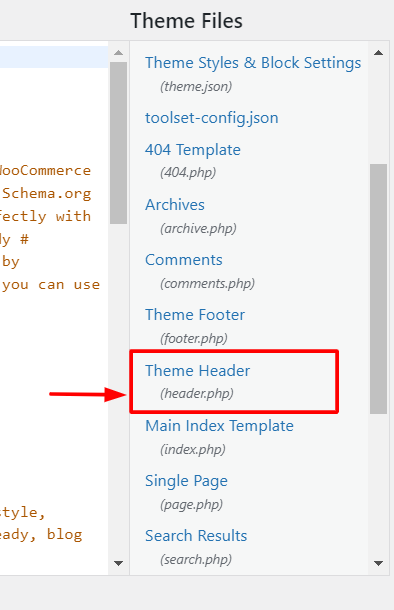
The codes in the left panel will all be updated once you select Theme Header. It will display every piece of information included in the Theme Header file.

Now paste your code generated from the Google Search Console account before the </head> tag.
Verify Using Google Analytics
Once your Google Analytics has been verified, you can verify your search console account directly by clicking on the verify button. It will be verified using Google Analytics.
Similarly, you can choose from other options in the list to verify your account. Choose the one that is easy for you and make the best out of the Search Console Account.
Read More: How to Set Up Your Google Analytics Account?
Conclusion
To sum up, if you want to improve the performance of your website and maximize your online presence, you must first set up Google Search Console. This powerful tool offers insightful information on how your site is doing in search results, spots potential problems, and offers suggestions for improvement. You may receive access to a plethora of information that can guide your decisions to improve your site’s visibility and user experience by adding your website to Google Search Console.
Image Source – Semrush